flap-o-phone Construction and Assembly Instructions
See the related article “The flap-o-phone, a Site-Specific Turntable” in this issue of eContact!, where the author discusses the background and development of the instrument.
Making the flap-o-phone
Preparations
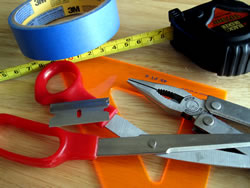
Gather the following tools:
- measuring tape (measurements below are given in metric [followed by imperial measurements in square brackets], e.g.: 2.5 cm [1"])
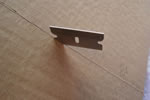
- X-Acto knife or box cutter, razor blade or a razor saw
- sturdy scissors
- large or medium-sized drafting triangle (about 10 x 15 cm [4 x 6"], though a T-square or a 30 cm [12"] ruler will suffice)
- blue painter’s tape
- needle-nose pliers
You will need the following components:
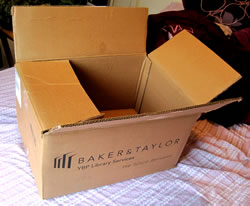
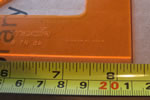
- A long piece of cardboard in good condition with no folds, holes or staples; it should be about 30 x 70 cm [approx. 12 x 28"] — the exact final shape is about 21.6 cm [8.5"] wide and 63.5 cm [25"] long. The cardboard should be about 2 to 4 mm [3/32 to 5/32"] thick.
- flap-o-phone mounting: a square-ish cardboard box, or a hunk of Styrofoam, or any material that is strong but flexible enough to rest on the knees. Ideal dimensions are about 7.5 to 15 cm [3 to 6"] deep and at least 30 x 30 cm [12 x 12"], though I strap it to the top of my laptop. Scrounge materials at construction sites, big box tech stores, college campus dumpsters and behind grocery stores.
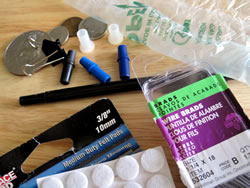
- A stubby nylon flange less than 1 cm [3/8"] tall or an ink cartridge mount from a Bic Round Stic Medium pen (should be 6.5 mm [1/4"] in diameter, 7 mm [9/32"] for a snug fit) which serves as a spindle for the 78 rpm record.
- several 18- or 17-gauge wire brads (aka finishing nails) 3.18 cm [1.25"] or 3.8 cm [1.5"] long
- generic binder clip that can clamp
- sheet of thin plastic slightly thicker than cellophane, thinner than a theatre gel or aluminium foil
- oddball assortment of coins, slugs, and heavy washers
- set of furniture pads: small (about 6 mm [1/4"] in diameter) round felt dots backed with adhesive found at hardware and “home improvement” stores
- 1 Papermate pen to mark spots and turn the record
Instructions
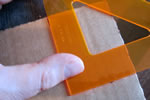
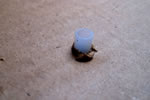
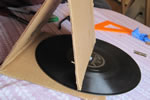
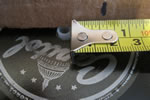
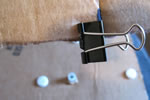
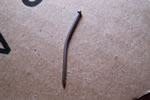
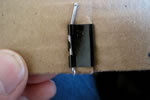
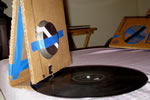
Each of the following instructions for building your own flap-o-phone has corresponding images showing the various tasks. Click images to enlarge and to read a description of each step.
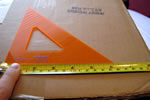







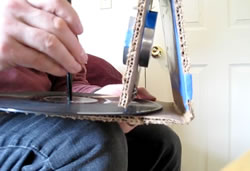

Preparing the Record
Preparations
Gather the following tools:
- safety glasses
- drill
- 7 mm [9/32"] drill bit
- cardboard surface
- 3 sheets of white paper
- roll of blue painter’s tape
- 1 pen to mark the drilling spot
You will need the following component:
- A single 78 rpm record
Instructions
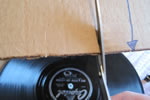
- Lay the 78 rpm record flat on the cardboard; the cardboard protects the underside of the record.
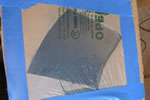
- From the edge of the centre spindle hole, measure about 2.5 cm [1"]. Mark the spot with a pen. This is where you will drill the secondary hole. Optionally, to reduce debris on the other side as you drill through the record, you can tape the opposite side with a square of blue painter’s tape.
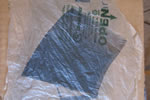
- Cover the 78 rpm record with 3 sheets of white paper; leave a square about 2.5 x 2.5 cm [1 x 1"] around the spot marking the secondary hole. The paper protects the surface of the record from debris.
- Put on safety glasses. If your drill is not a cordless drill, make sure it is unplugged.
- Insert the drill bit into the drill, making sure it is tightly secured. If your drill is not a cordless drill, plug it in.
- Press the drill bit gently but firmly against the spot marking the secondary hole. The drill should be perpendicular to the drilling surface. With your other hand, hold down the paper-covered 78 rpm record firmly but not so hard that the record breaks!
Safety note! If you worry about the drill slipping and hitting your hand, you can wear heavy gloves. If you are unfamiliar with a drill, that’s OK! You can practice with just one hand using the drill on a record you don’t care much about.
- Begin drilling! You will see curly black debris. When you begin to see light brown curls, stop! That’s the cardboard. You have drilled through the record.
- Gently remove the drill and unplug it if possible. Lift the paper up deftly and discard the debris.
- Use a piece of blue painter’s tape to “sop up” the remaining debris particles.
- Your record is ready for the flap-o-phone!
Credits
The basic design of the flap-o-phone is based on the CardTalk record player designed by Joy Ridderhof and her associates at the Gospel Recordings Network in the late 1940s.
Some instructions are based on diagrams from the “Neat Science” site of Dan Keith and revised by Christopher DeLaurenti. http://www.neatscience.com/CardTalk.pdf [Last accessed 16 February 2012]
“Preparing the Record” instructions by Christopher DeLaurenti.
Modifications to the flap, spindle, needle and needle housing by Christopher DeLaurenti, who remains indebted not only to his teachers at Bard College and their many suggestions, but also to scores of helpful staffers at several Seattle area hardware stores including Hardwick’s, Tacoma Screw and Limback Lumber.
The flap-o-phone was named by Jeremy Hoevenaar.
Thank you to turntablist Marina Rosenfeld!
Social top