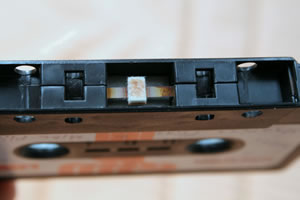
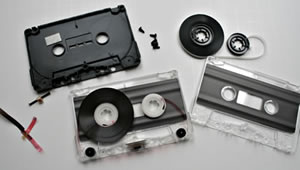
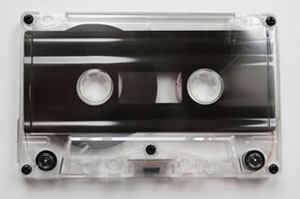
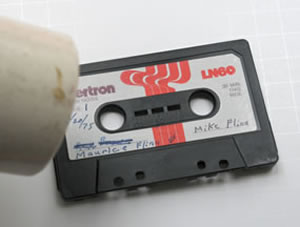
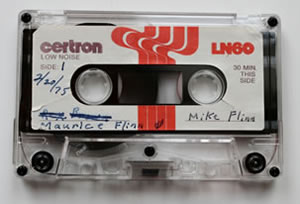
Figure 1. The tape snapped at the leader splice in this cassette recorded in 1975. The pad is dirty and its glue will likely fall off, and the case is stamped together, not screwed. Since the tape cannot be retrieved without opening the shell, the entire assembly is replaced.Figure 2. A new cassette at the right. It has five screws, bearings and slip sheets — and only costs about 35 cents.Figure 3. The screws removed and the new tape pack lifted out. I’ve never figured out what to do with the fresh packs of tape, and have a box full of them.Figure 4. The old cassette carefully split apart with a screwdriver. This cheap cassette had no slip sheets and no bearings — in fact, no side guideposts at all.Figure 5. The old cassette’s tape pack has been spliced and put into the new shell.Figure 6. The old tape is now in a new shell, ready to play — but it needs to be labeled. I like to use the original labels if possible.Figure 7. The hairdryer trick involves heating the label on the old shell until the glue liquifies.Figure 8. The label will peel slowly but easily off once it is very hot. In this case, the label’s paper is itself deteriorating, making the process very tricky.Figure 9. The completed cassette with the original label with a few dings in the paper, but with the interviewer’s handwriting intact.


Social top